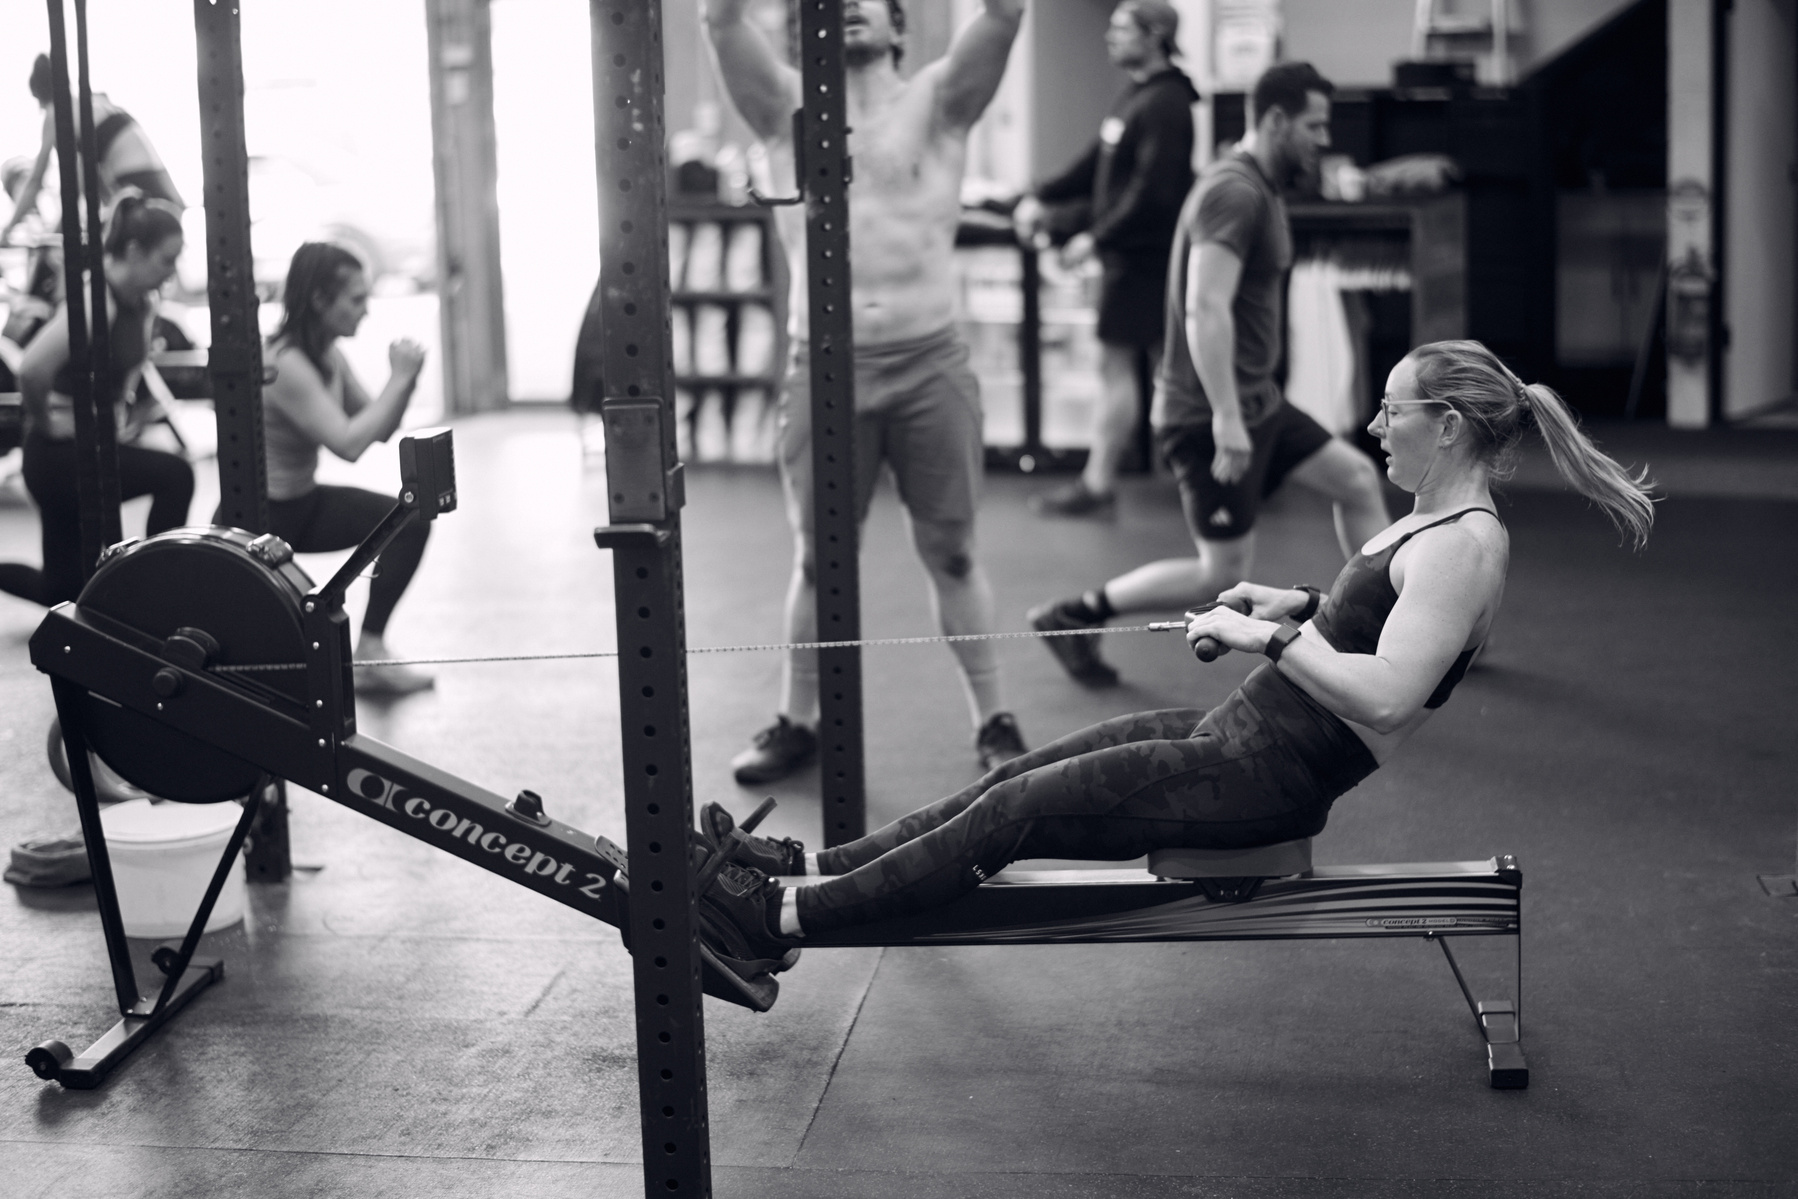
One of My All-Time Biggest Peeves: The Concept 2 Rower Damper Settings
One of my all-time biggest peeves when going to a commercial gym is when I approach the Concept 2 rowers and see all the dampers set to 10. Not because I’m some sort of rowing expert or fitness snob, but because this blindly set default won’t allow users to get the most out of what is an excellent piece of equipment. Misunderstandings surrounding damper settings often lead to ineffective workouts as many users mistakenly think that cranking the damper to 10 will automatically increase the intensity of their training.
In this in-depth blog post, I will cover:
- How the damper setting works
- The differences between damper settings for various athlete types
- Practical guidance for optimizing your rowing workouts
- Common misconceptions about resistance and intensity
Let’s dive in and eliminate this pesky peeve once and for all.
Understanding the Damper Setting
The Concept 2 rowing machine is a flywheel-based machine, which means the harder you pull, the more resistance you’ll feel. This can be compared to how an air bike operates—the harder you pedal, the more resistance you encounter. However, a unique feature of the rowing machine is the ability to manipulate the damper setting to suit your performance needs.
Here’s how it works:
- Damper Setting of 10: When you set the damper to 10, you allow maximum air to flow into the flywheel. This generates maximal air resistance, causing the machine to move slower and feel much heavier.
- Damper Setting of 1: Conversely, setting it to 1 reduces air intake, allowing the flywheel to spin more freely with less air resistance.
It’s crucial to note that the damper setting is not a direct measure of resistance like you might find in traditional strength machines. Instead, it’s more akin to adjusting the gearing on a bicycle.
Different Types of Athletes and Their Damper Preferences
Now here’s where things get really interesting. Let’s compare two types of track athletes: a sprint (fast-twitch) athlete and a distance (slow-twitch) athlete. Surprisingly, it’s generally the fast-twitch athlete who should set their damper to a lower number. This counters the common belief that increasing resistance leads to a more intense workout.
- Fast-Twitch Athletes (Sprinters):
- Optimal Damper Setting: Lower (1-4)
- Reason: Allows them to keep the flywheel spinning at a faster rate with reduced resistance, enabling them to maximize their speed without hitting that anaerobic threshold too quickly.
- Slow-Twitch Athletes (Distance Runners):
- Optimal Damper Setting: Higher (6-10)
- Reason: A higher setting can help them to work on technique and endurance without feeling overwhelmed by resistance.
This simple illustration shows how individual differences in muscle fiber composition can significantly impact the ideal damper setting on a Concept 2 rower.
The Learning Curve for Beginners
For those who are new to rowing or lack technique, it may be beneficial to start with a higher damper setting. Here’s why:
- Technique Focus: A higher setting forces slower strokes that enforce proper technique and body mechanics.
- Foundation Building: Once the rower is comfortable and has built some strength, they can start experimenting with lower damper settings.
In this way, the damper setting acts as a training tool, evolving along with the athlete’s skill level.
Finding Your Optimal Setting
Recommending a universal damper setting wouldn’t be effective. However, here’s a starting point:
- For Athletes with Solid Technique: Try starting with a damper setting around 5.
- Play Around with the Drag Factor: The drag factor is another crucial aspect to experiment with. It ranges from about 100 to 200, with different implications based on weight, technique, and experience level.
Summary: Spend some time playing with both the damper setting and the drag factor to discover what feels most suitable for you.
Debunking the Myths: Damper Settings vs. Workout Intensity
It’s vital to differentiate between damper settings and actual resistance. Here’s what you need to keep in mind:
- Setting to 10 ≠ More Intensity: Many users assume that a higher damper setting leads to a higher intensity workout, leading them to fatigue faster without realizing they are not training optimally.
- Intensity is Relative: The intensity of your workout should consider various factors such as pacing, technique, and your specific goals.
Data-Backed Insights
Research from the Journal of Sports Sciences suggests that optimizing your rowing machine setting can significantly affect performance and endurance levels. Athletes who adjust their damper settings according to their energy systems can reduce unnecessary fatigue, optimizing their overall performance—particularly in contexts like CrossFit, where efficiency is key.
Recent Trends in Rowing
The rowing segment in CrossFit has grown, with increased awareness around technique and application. More and more gyms offer specific rowing classes focusing on technique, leading to a community of athletes who are getting better at understanding how to use this equipment effectively. Additionally, social media platforms have seen a surge of rowing-focused content that breaks down the myths surrounding damper settings.
Conclusion: Set Yourself Up for Success
So, the next time you step into class and see the Concept 2 rowers, think twice before cranking the damper to 10! Utilize the information shared in this post to tailor your rowing experience. Remember, finding your optimal setting may take time, but that’s all part of the journey toward improved fitness and technique.
Share Your Thoughts
I invite you to leave a comment below on your experiences with the Concept 2 rowers or share this post on social media. How do you set your damper? What has worked best for you? Let’s build a helpful community around effective rowing techniques!